
Want to follow along the process of making a children’s book? Here’s my in depth guide starting with brainstorming and making thumbnails.
Is it me or is it challenging to find details on the book making process? I know there are resources out there, but it’s taken a while to find one that’s comprehensive enough for me to follow. I’ve done that and started to work on my first children’s book!
As things become more digitized, children need physical books more than ever. For artists, you will get a detailed showing of the children’s book process and the issues I ran into.
The beginning phase of the children’s book is most important, as it informs the style, tone, and themes of the book.
Ideas and Characters
Aiming to Tell a Story
We’re geared to absorb stories even as kids. Growing up, I read both picture books and those with chapter illustrations. The Chronicles of Narnia were my favorite series that had chapter illustrations.
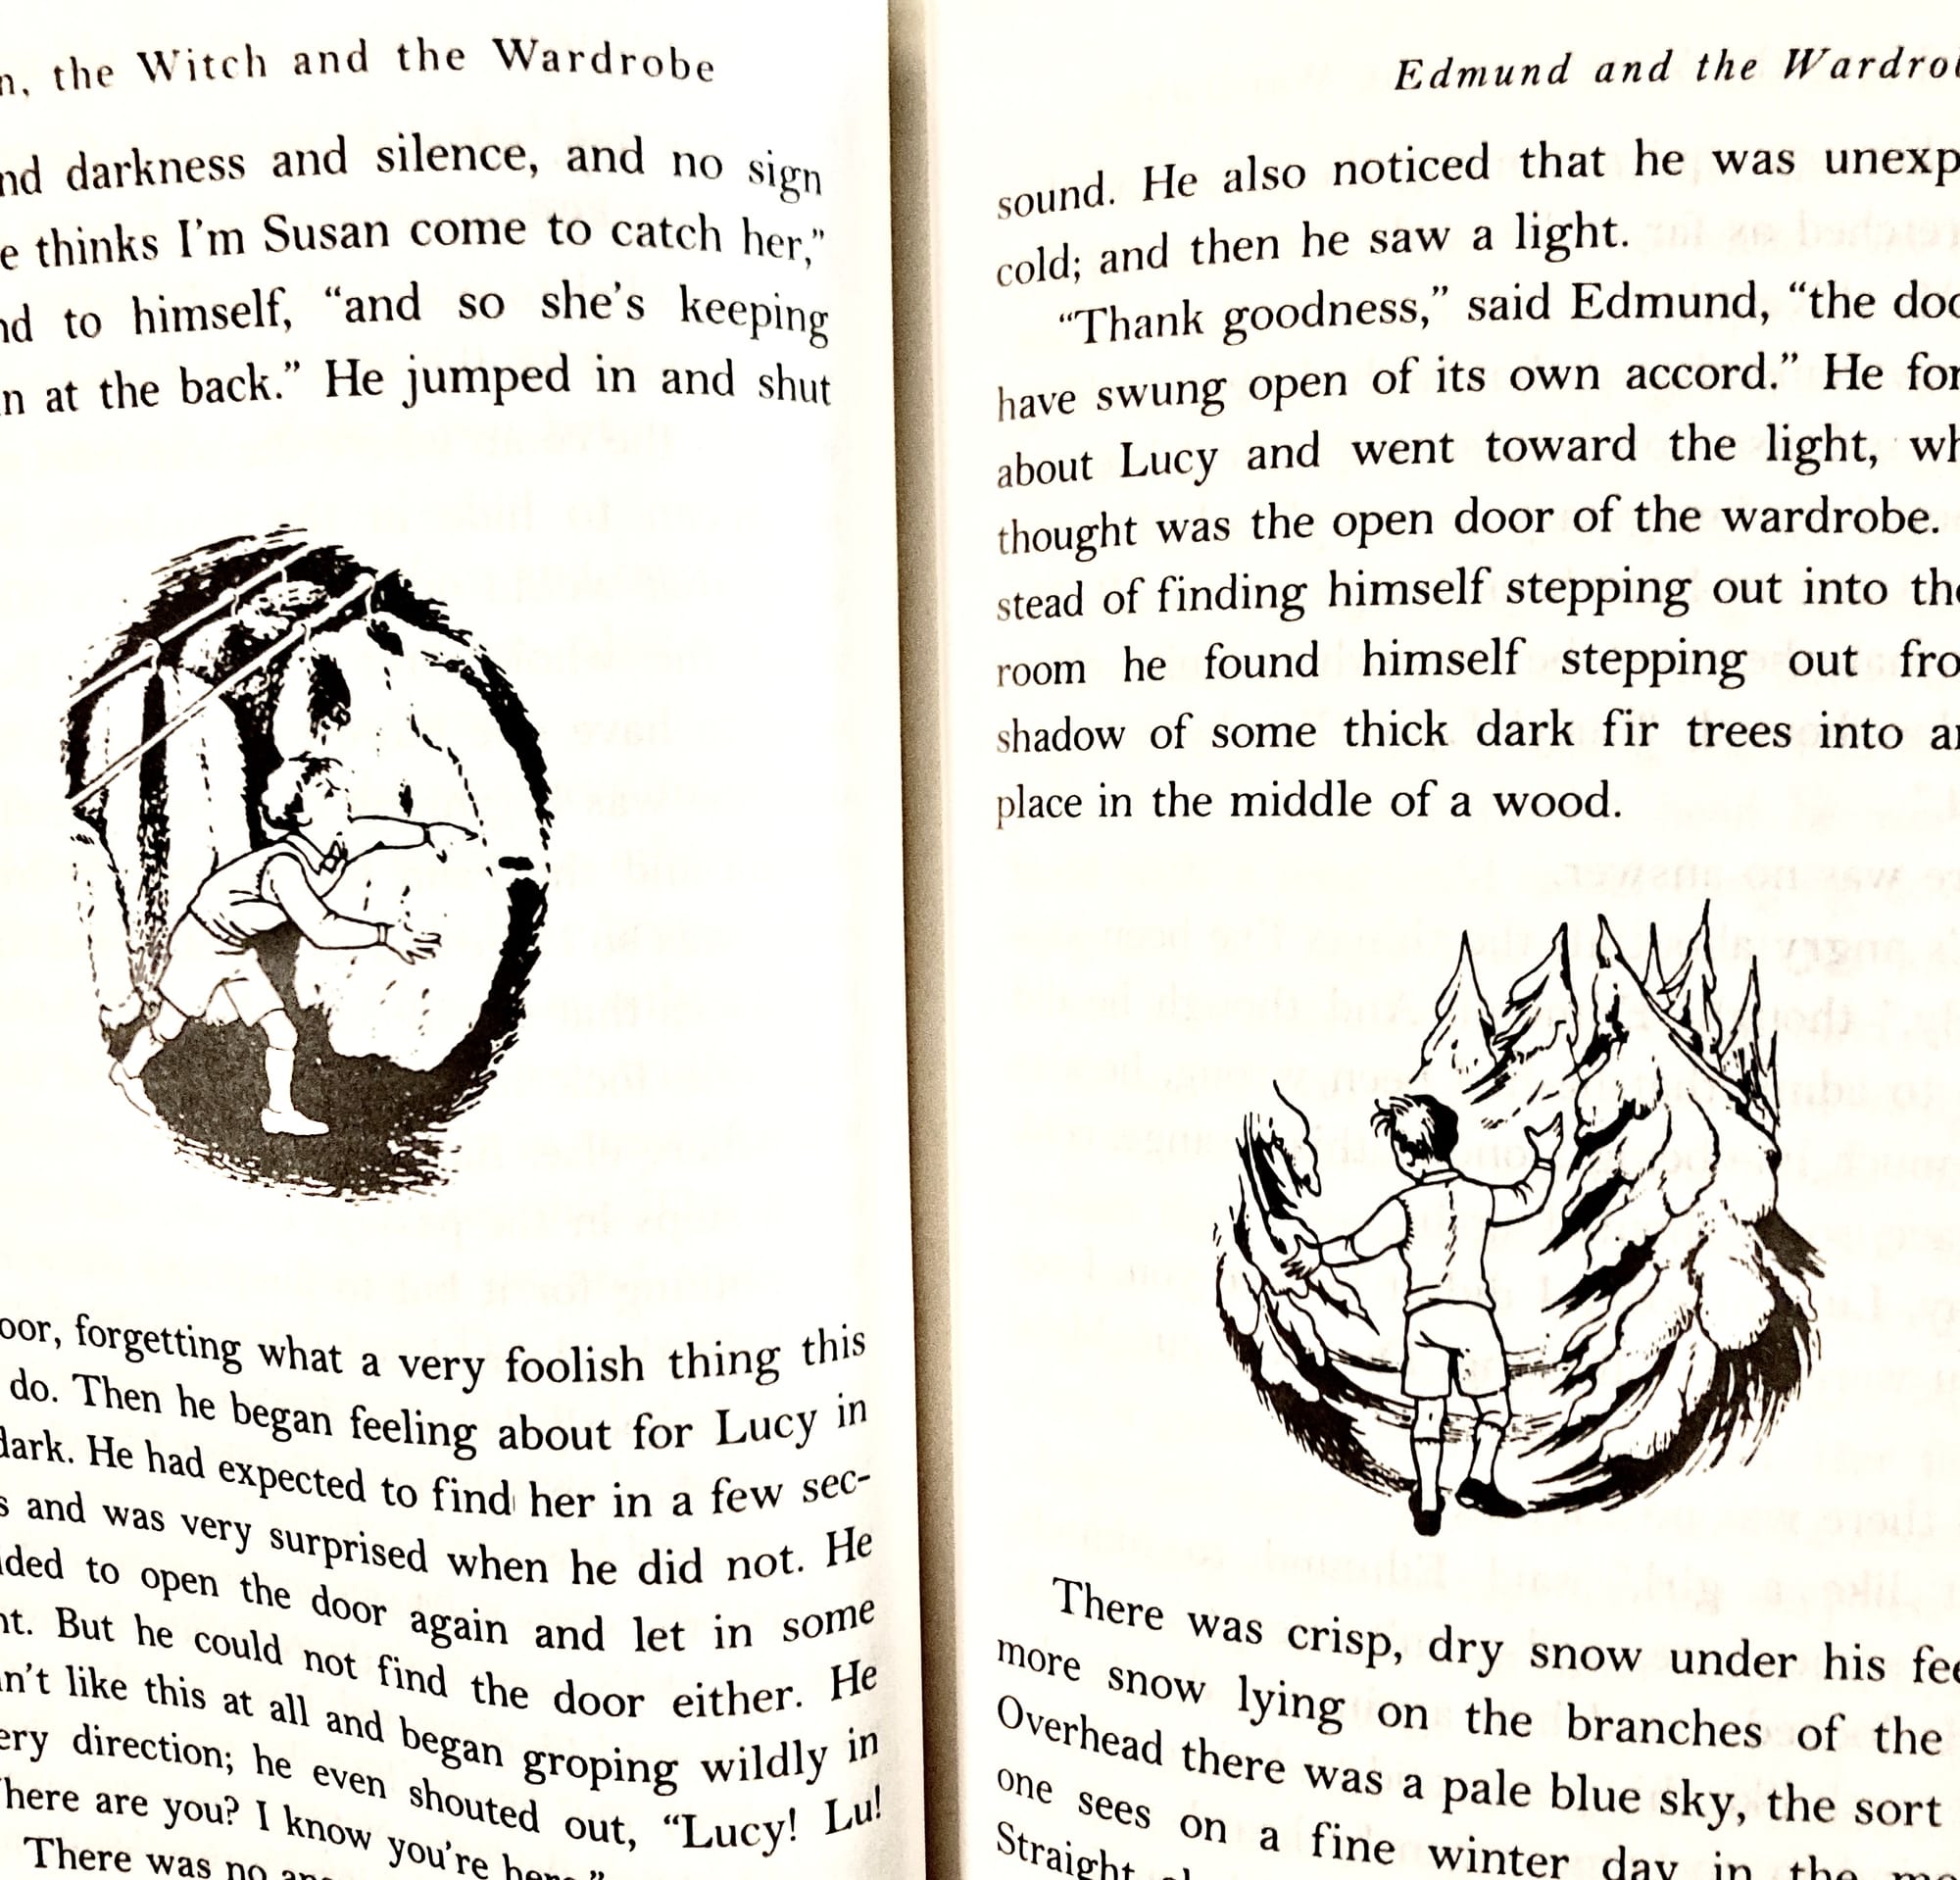
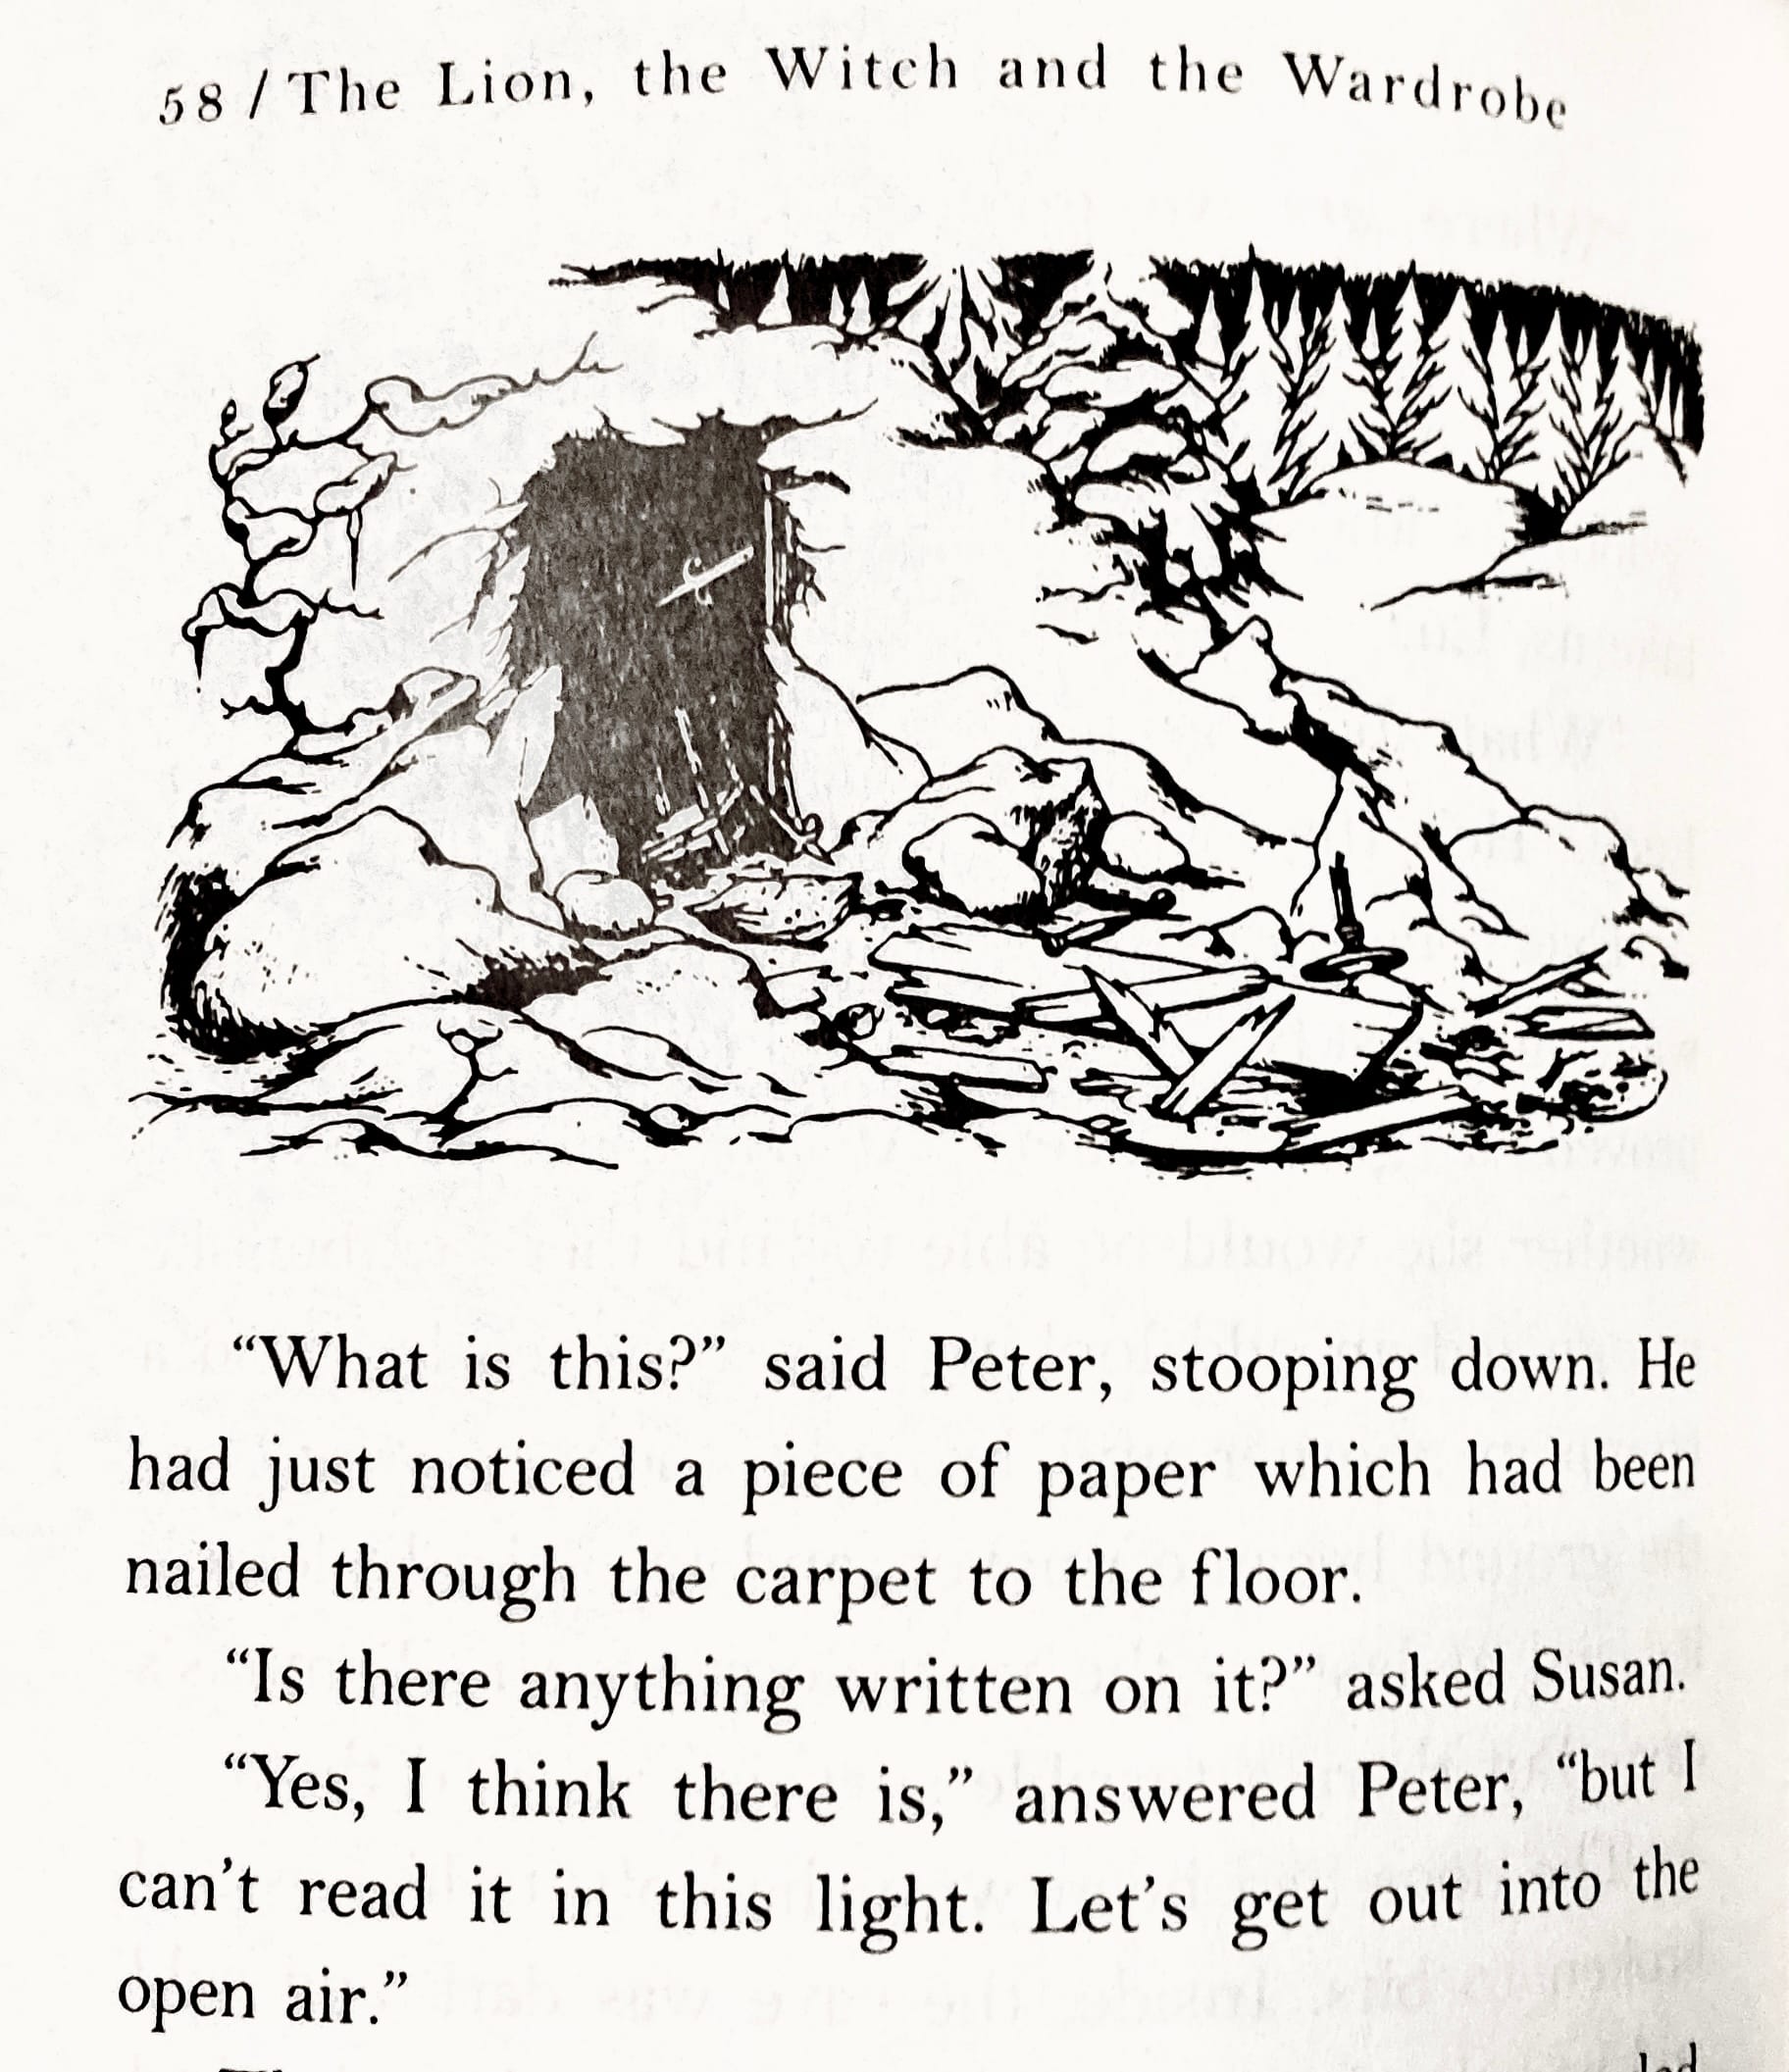
Chapter illustrations from The Lion, the Witch, and the Wardrobe
The first question to ask is what story are we trying to tell? Something fun? An adventure? A critical lesson?
The good thing about children’s books is that you can do any of them, and a kid can get something out of your story. Yet, there should be one key theme so that they can take in your story.
Characters over Lessons
Character-driven stories are always more engaging than plot-driven ones. This is even more true when you want the reader to learn something. Kids already go to school to listen to lectures and do homework. Your book shouldn’t feel like either.
Yet life lessons are still needed no matter the source. Put a lot of energy into making engaging and interesting characters.
Moreover, at this stage, if you are a writer working with an illustrator, the design of the character is key. What does the character look like? Are they human or animals? Anthropomorphic? Considering the story and the age of the reader are part of this process as well. For Love All Around, we decided to use animals instead of humans.
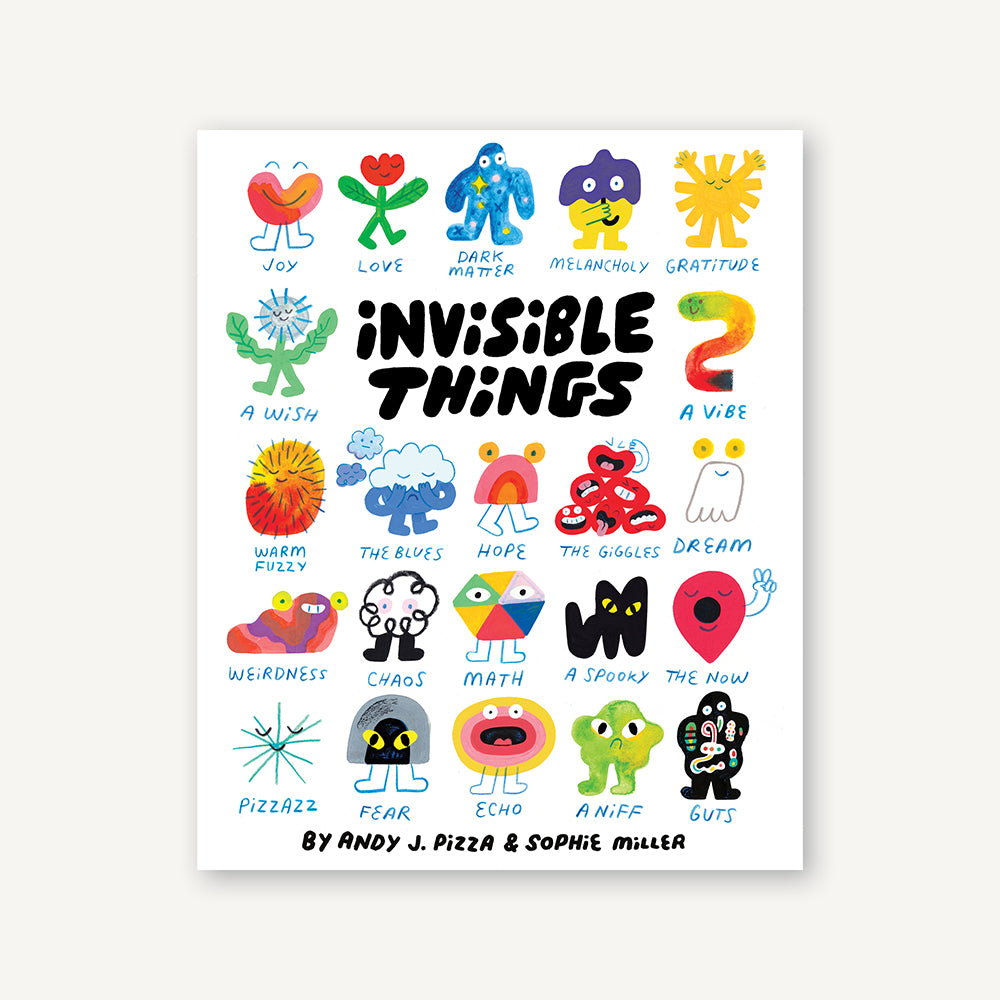
I purchased Andy J. Pizza's Invisible Things. It shows the everyday emotions as colorful and unique characters. The creativity in capturing feelings shows that kids can engage with anything, whether human or something else.
Consider the Age Group
Different age groups have levels of understanding and interest. But no matter the age, the reader wants to be able to relate to or insert themselves into the story. They also gravitate towards older versions of themselves because they are growing up! What will they have to look forward to as a child growing up? Reedsy describes this aspect in detail on their blog.
For our project, we chose to focus on ages K-2 as the lesson is about love and what that looks like when you’re in that age group.
Writing for Children
The Three-Act Structure Simplified
You don’t need a sweeping plot to tell a children’s story, but there should be an arc. Using Love All Around as an example, the acts are as follows:
- Act 1 — The lamb is curious about what love is, and his mother explains at the beginning that “love is all around us”. She decides to show him what that looks like.
- Act 2 — They journey across the farmland, seeing different animal parents showing acts of love. Shelter, food, protection, etc.
- Act 3 — The lamb recounts what his mother has learned, as well as the source of that love being God.
This entire structure is the lamb’s desire to learn what love is, i.e., Character-driven. The lamb is very young, which aligns with the age group we are aiming for. The uniqueness of the story is showing real-world creatures as having loving natures.
Rhythm and Page Count
We decided not to have rhyming in the story, but rhymes are a helpful tool in helping children remember text. It also is more engaging when read aloud to a child. Not every story needs rhyming, but there should be a rhythm to the story. Patterns such as the passage of time, the scenery, and the way the characters grow together.
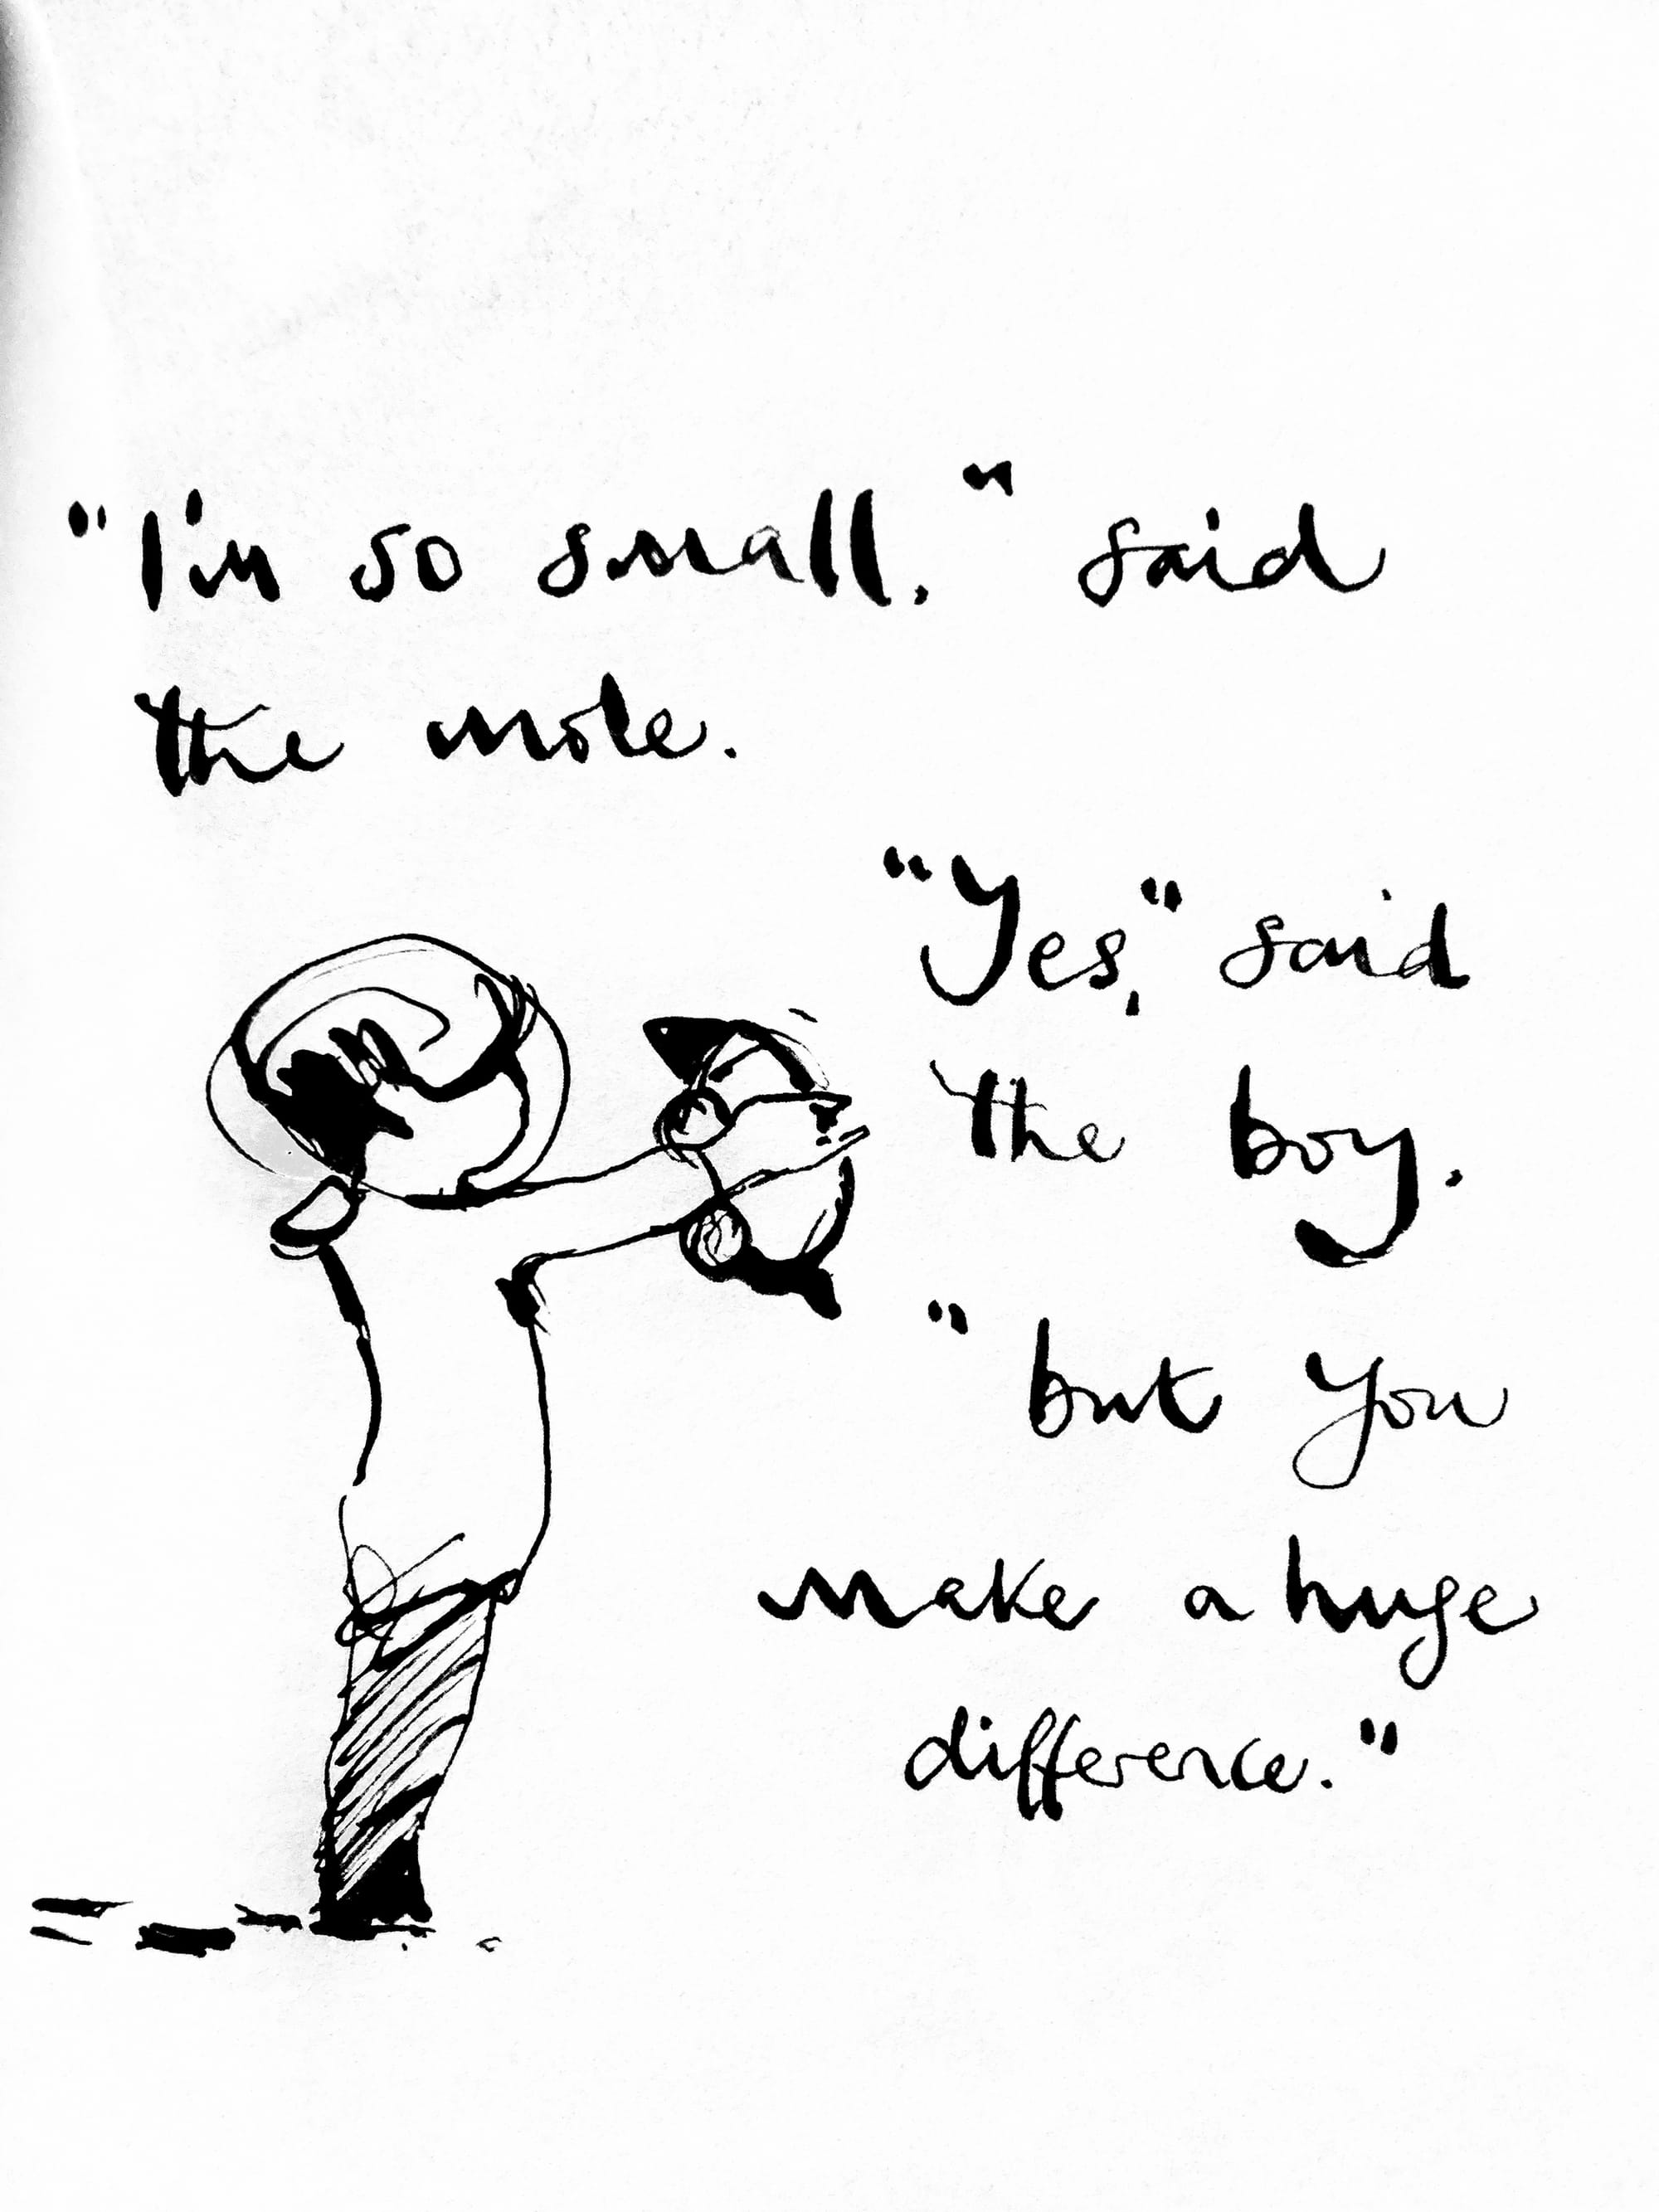
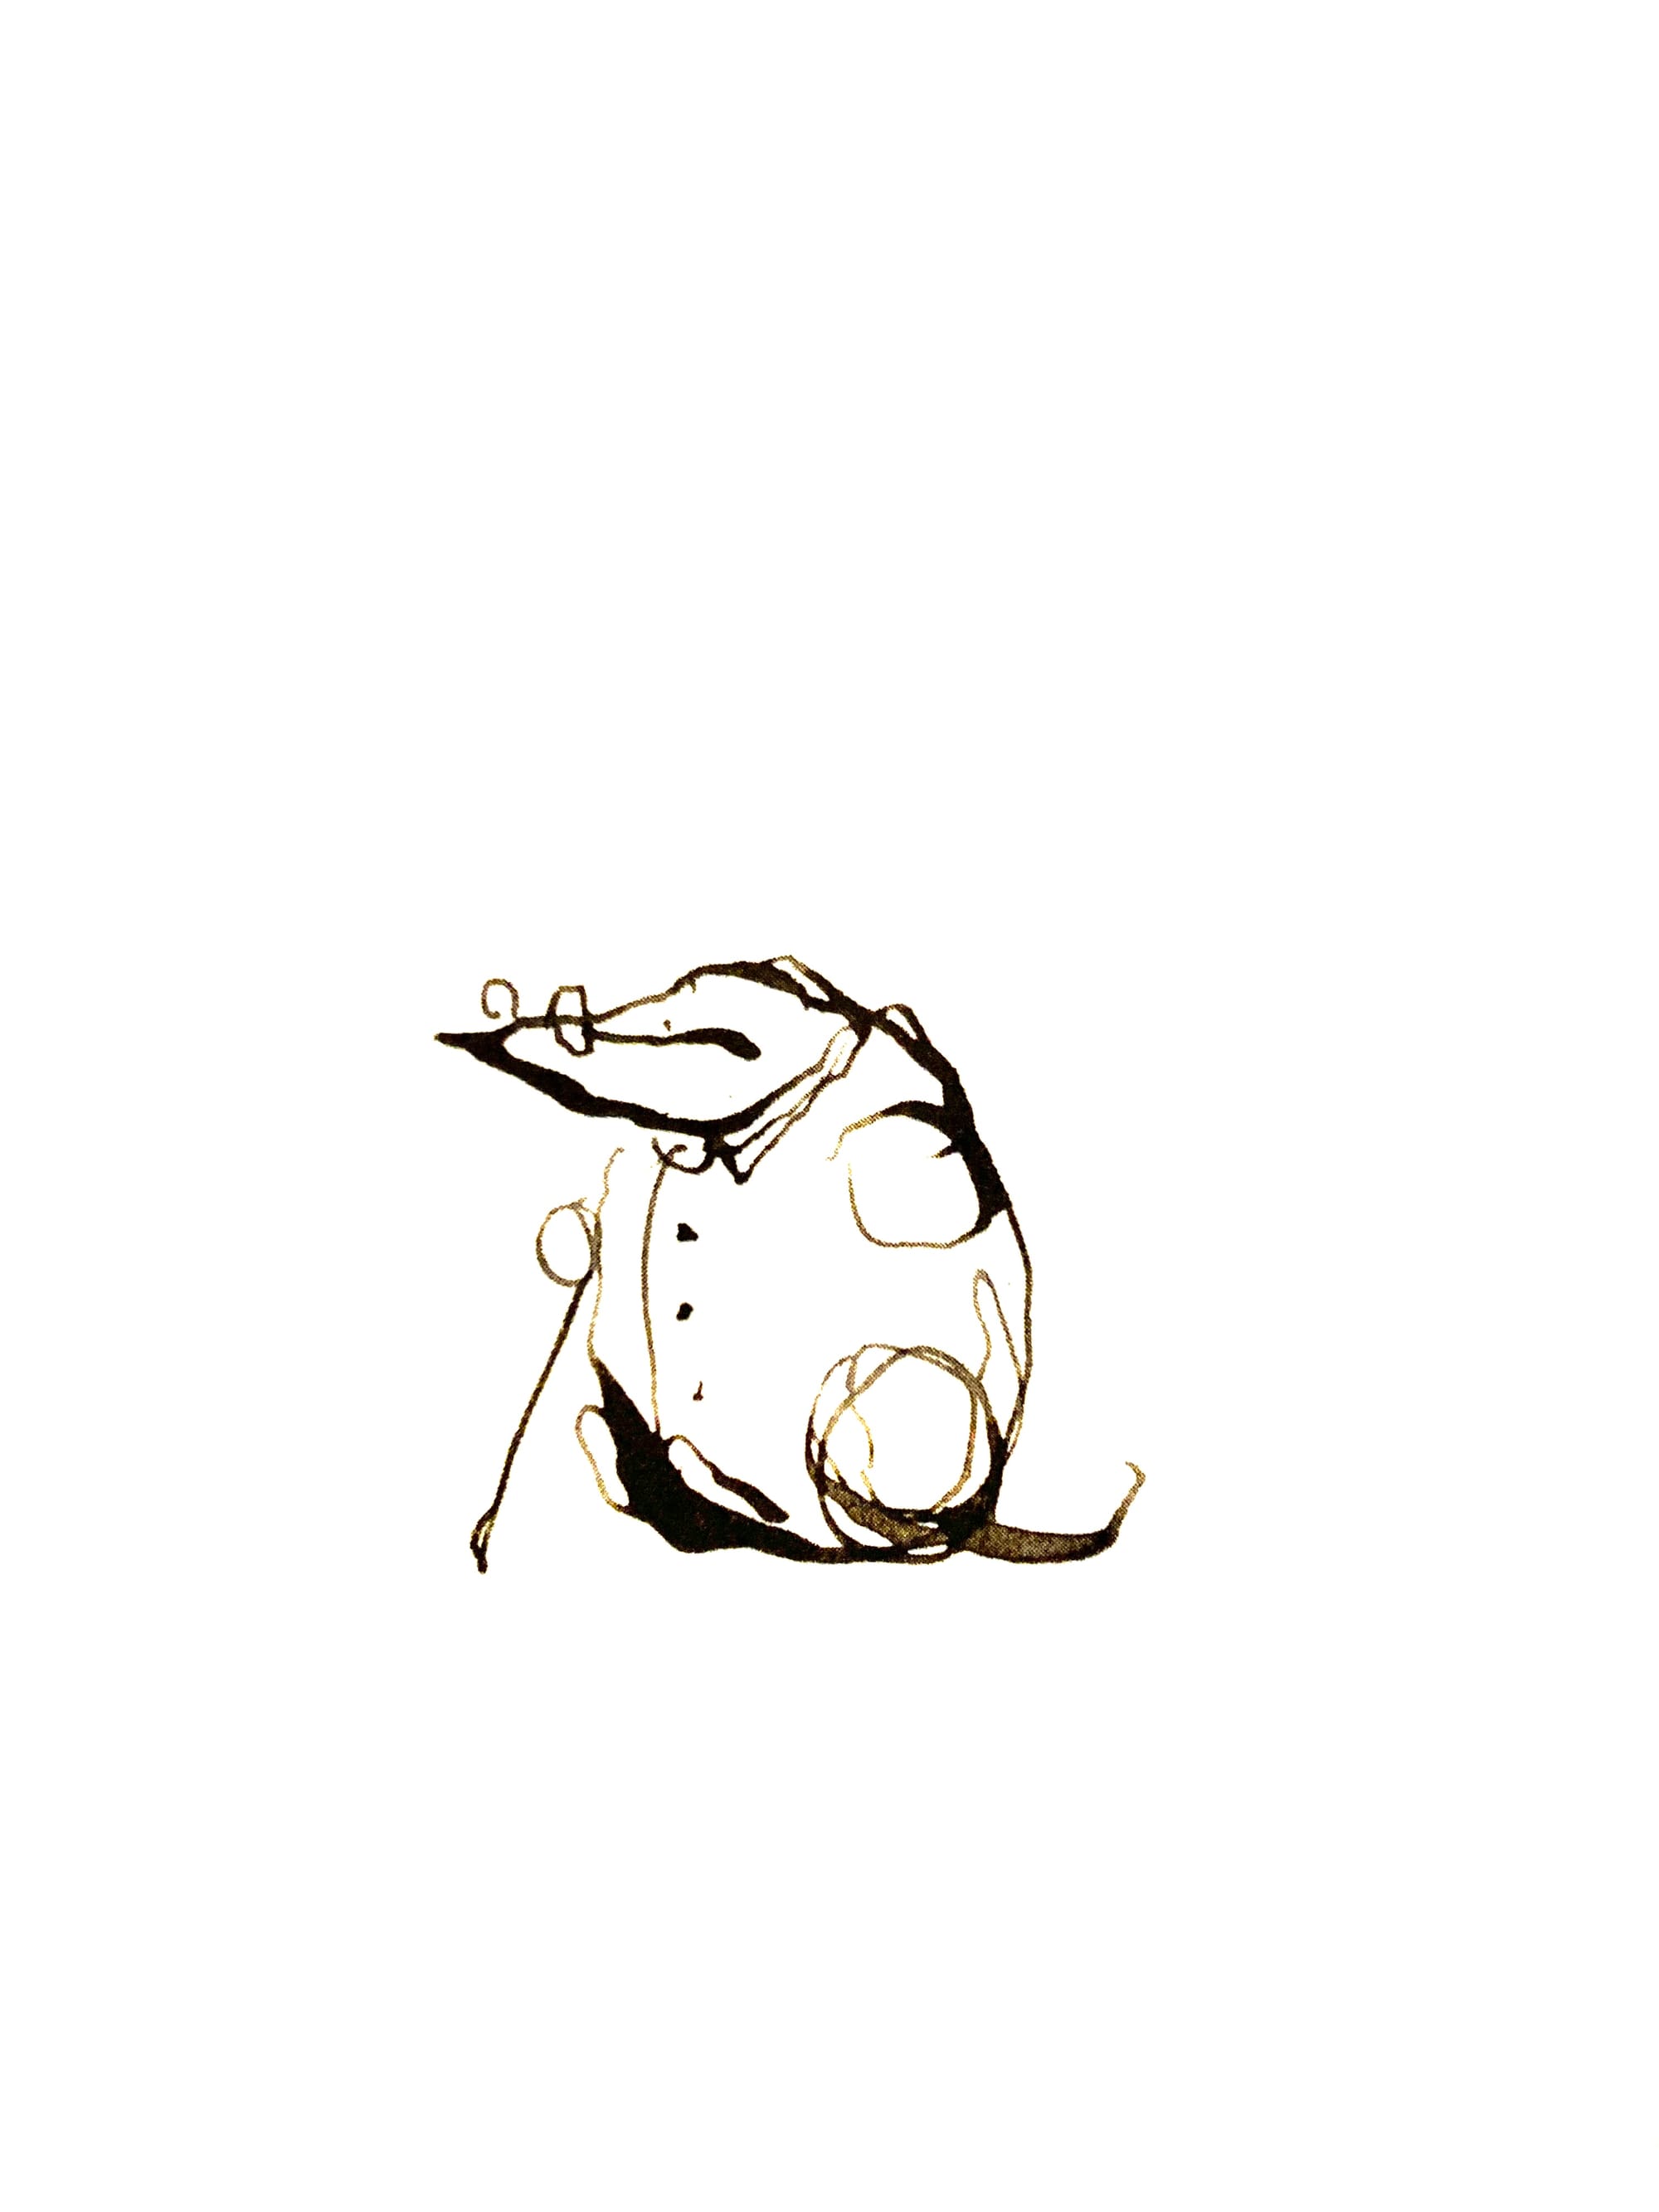
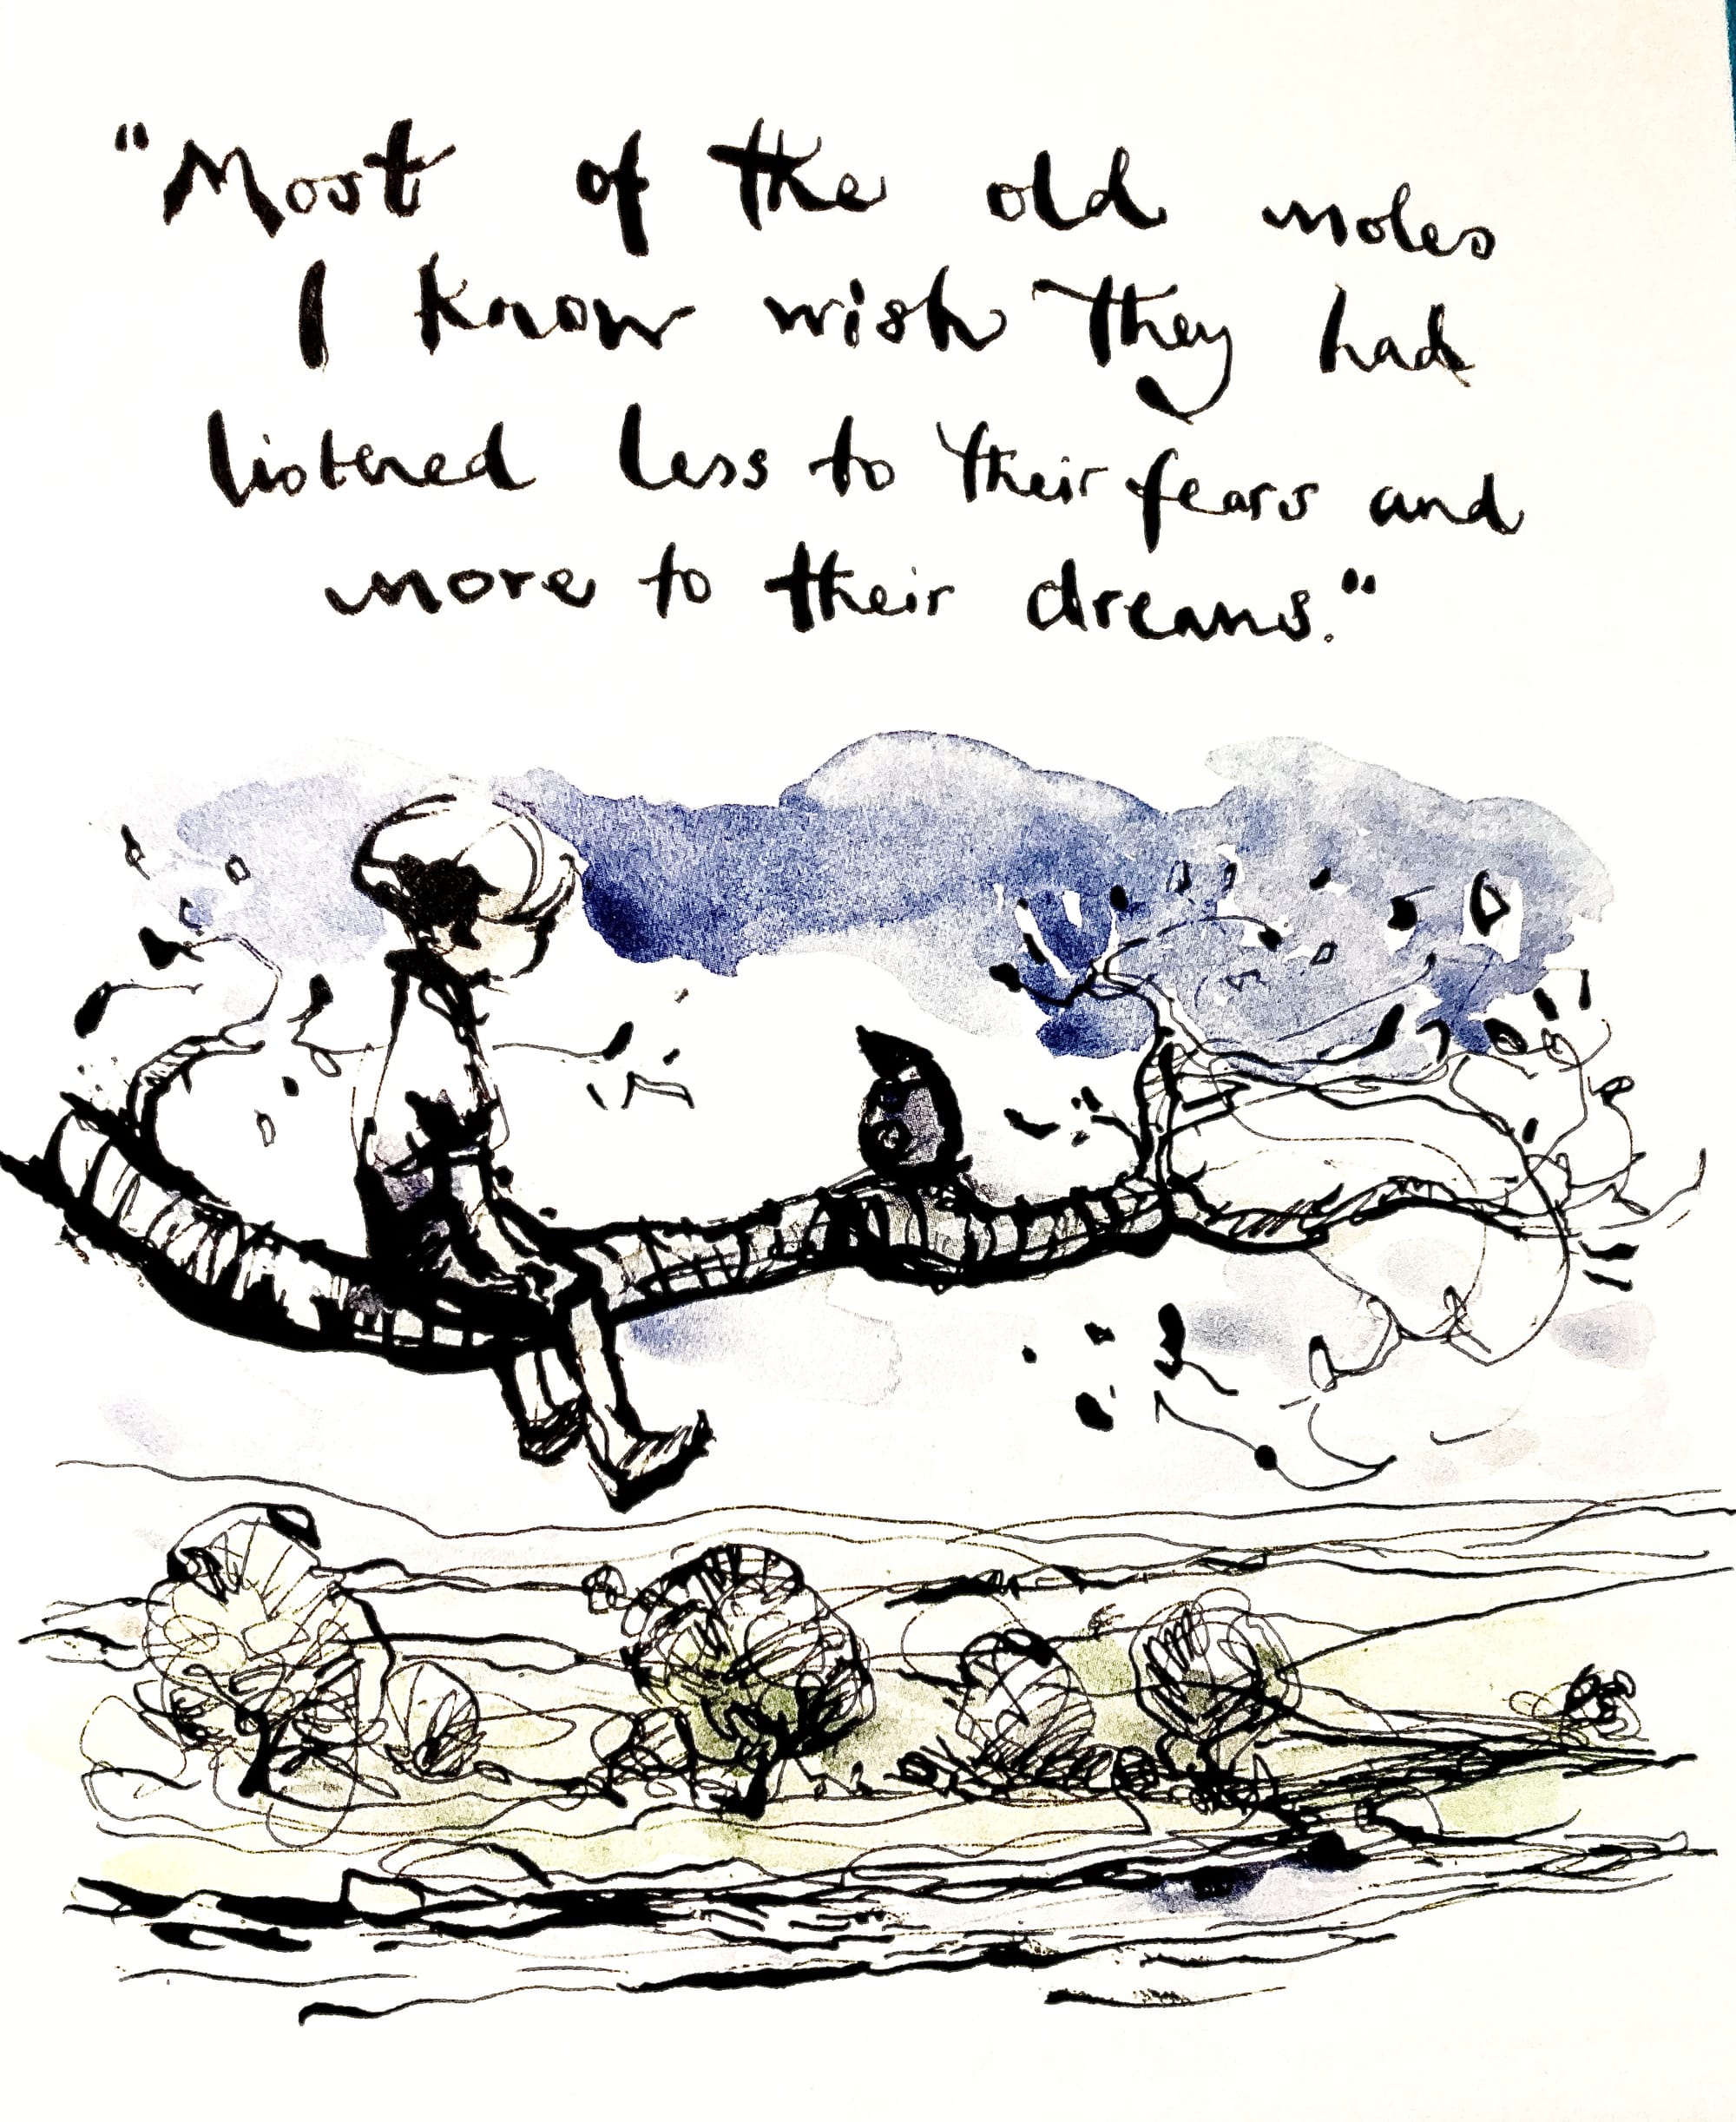
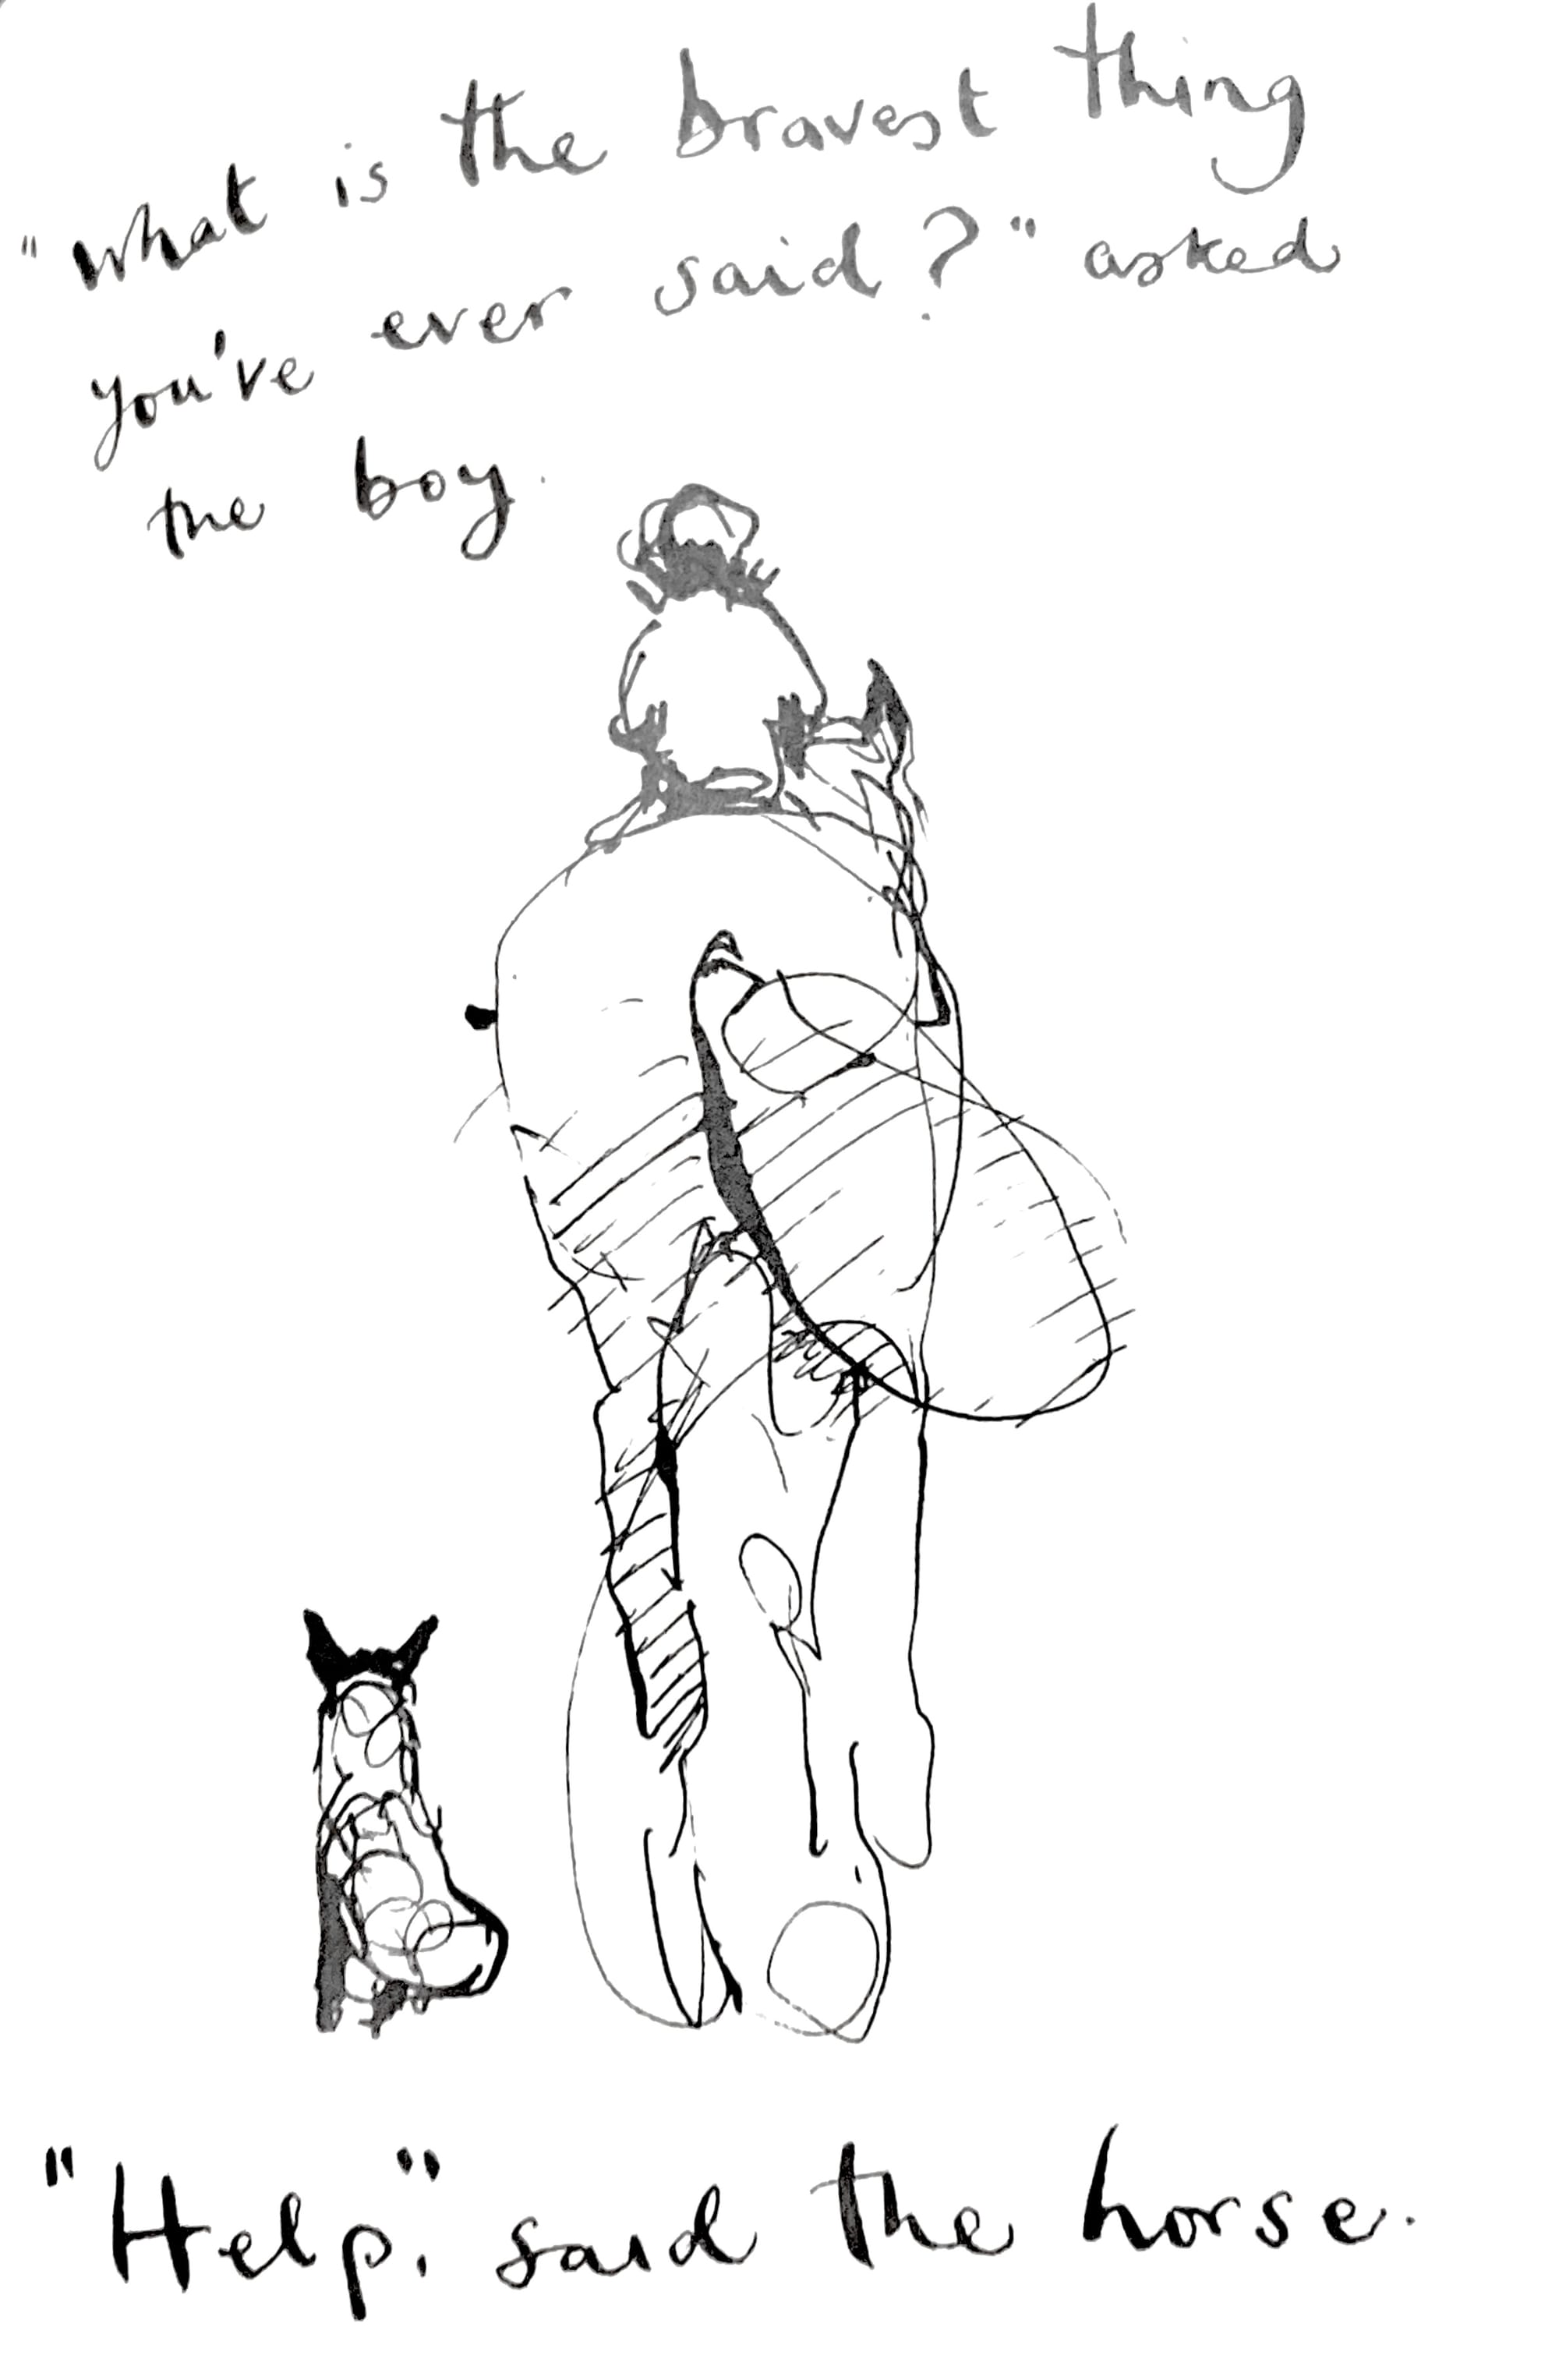
Illustrations from The Boy, the Mole, the Fox, and the Horse by Charlie Mackey
The Boy, the Mole, the Fox, and the Horse by Charlie Mackey, includes a cadence as the boy meets each animal. The Mole is hungry, the fox is wary, and the horse is kind. The boy starts lonely and ends his journey with friends, and they all grow in different ways.
The page count for our story is set to 32 pages, which is the standard for most children’s books. It’s more important to stay in this range when working with a traditional publisher. If you decide to self-publish a book, you have more wiggle room for pages. This template by Debbie Ohi is what I used to outline Love All Around to a 32-page book.
This is because anytime you add a page, you have to add four pages. The page count should be divisible by 4 for printing purposes. Otherwise, you’ll have extra pages with no content.
Vocabulary and Beta Readers
Going back to age groups, how you use vocabulary has everything to do with the reader’s age. That’s why middle-grade books have more text than picture books and more complex words as well. For this project, we focused more on the images, but the words are simple sentences.
For the K-2 age group, images will be more enticing, while the text gives more context. We intend to have kids in this range read the work as well before publishing to make sure they understand the text.
Asking both kids and adults to read your early work will help catch mistakes.
Visualization
Making Thumbnails
With the text complete, the sketching process begins. We started with very loose thumbnails showing the characters. What I didn’t have mapped out is the location of the story. This is something I have to course-correct later on.
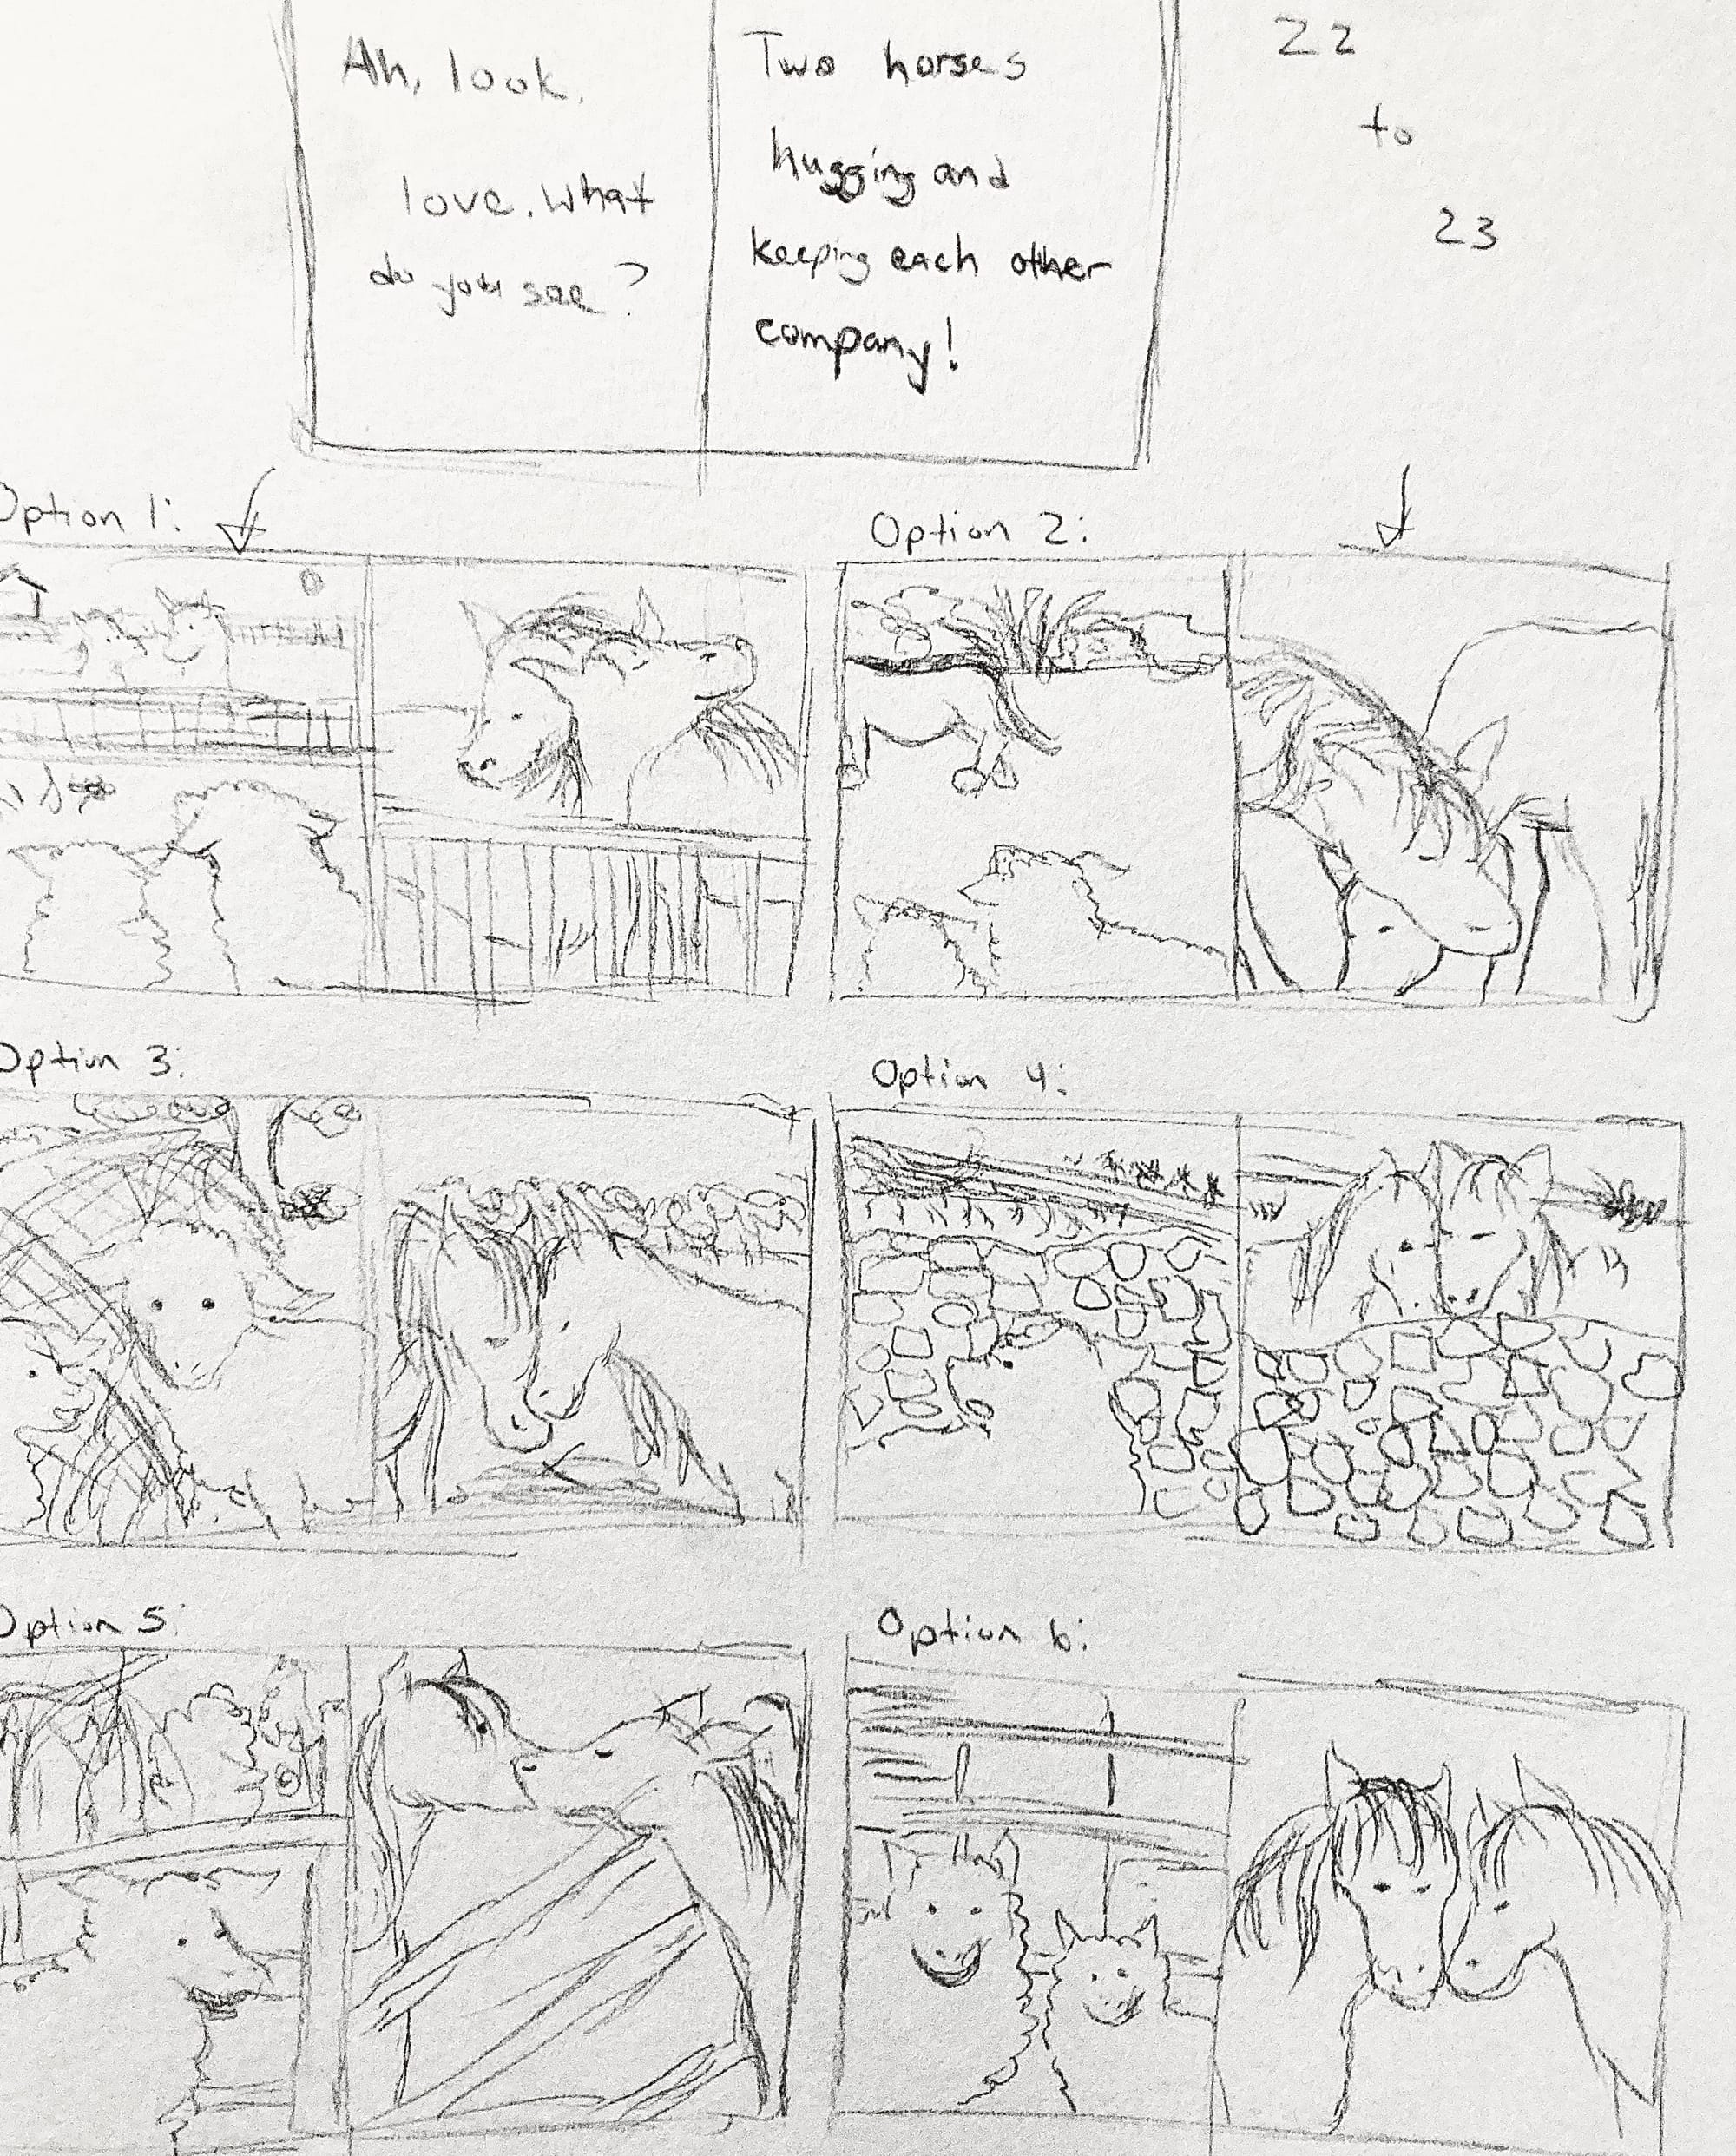
Each page has at least 6 thumbnails for it to try different positions, poses, and concepts.
Edit the Plot to the Scenes
Working with my friend Crystal, we went back and forth on changing the text to work with different scenes. Too much text meant we could run out of space for it. Some pages have no text at all, so the art has to carry the page.
The good thing about thumbnails is that they are small, simple, and quick to do. They allow for quicker changes and keep you from having to rework larger pieces later. I used to dislike thumbnails when I was learning to draw. I wanted to draw! Now I shudder to attempt any drawing without them.
Picking the Best Thumbnails
When we decided what text works best with which image, we marked them down and highlighted them. Even at this stage, problems could come up. I recommend finding references at this stage for each thumbnail before the next step. Speaking from experience here.
Next Step, Value Studies
This has been the first post in this series on making your own children’s book. I’m hoping to demystify the process a little. If you need any clarification about the project, feel free to leave a comment below!
